An Overview of Jam Making

If you haven’t been seeing so much of me these days, it’s probably because I’ve been busy canning. That’s right, Chuck and I have a new obsession, and when we aren’t talking about it or doing it, we’re thinking about it. As a newcomer to canning, this is the best time to be obsessed with it, as it’s been peak season into next month.
For detailed recipes, fantastic directions and supplies, check out the Ball website, or better yet, get a Ball Blue Book guide to preserving.
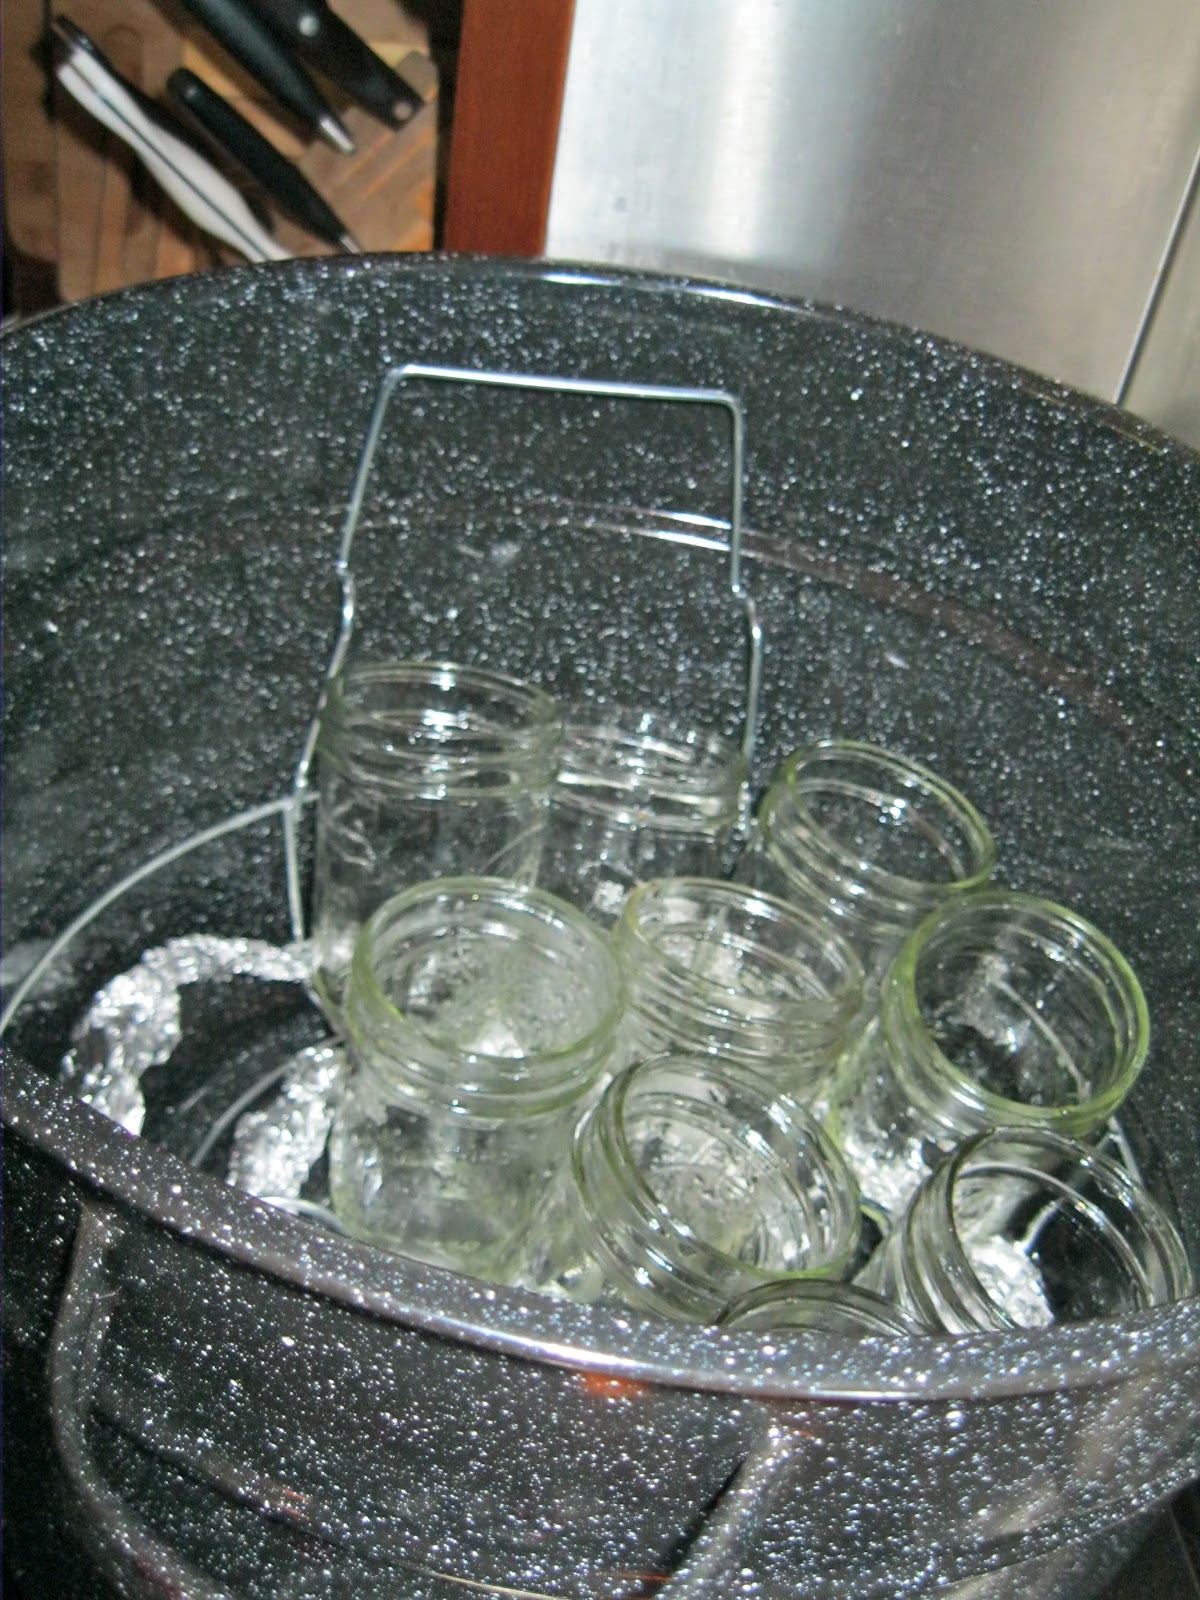
I know you have a slew of mason jars lying around, so this is the chance to put them to work. Sterilize them in a pot of boiling water for several minutes, then store in a 200 degree oven while you wait for the mixture to be ready. Every recipe is different depending on the fruit, use of pectin, and total amount, so I’m not listing a specific recipe. You can adjust your recipe according to how much fruit you have, or just follow a recipe from the Book.

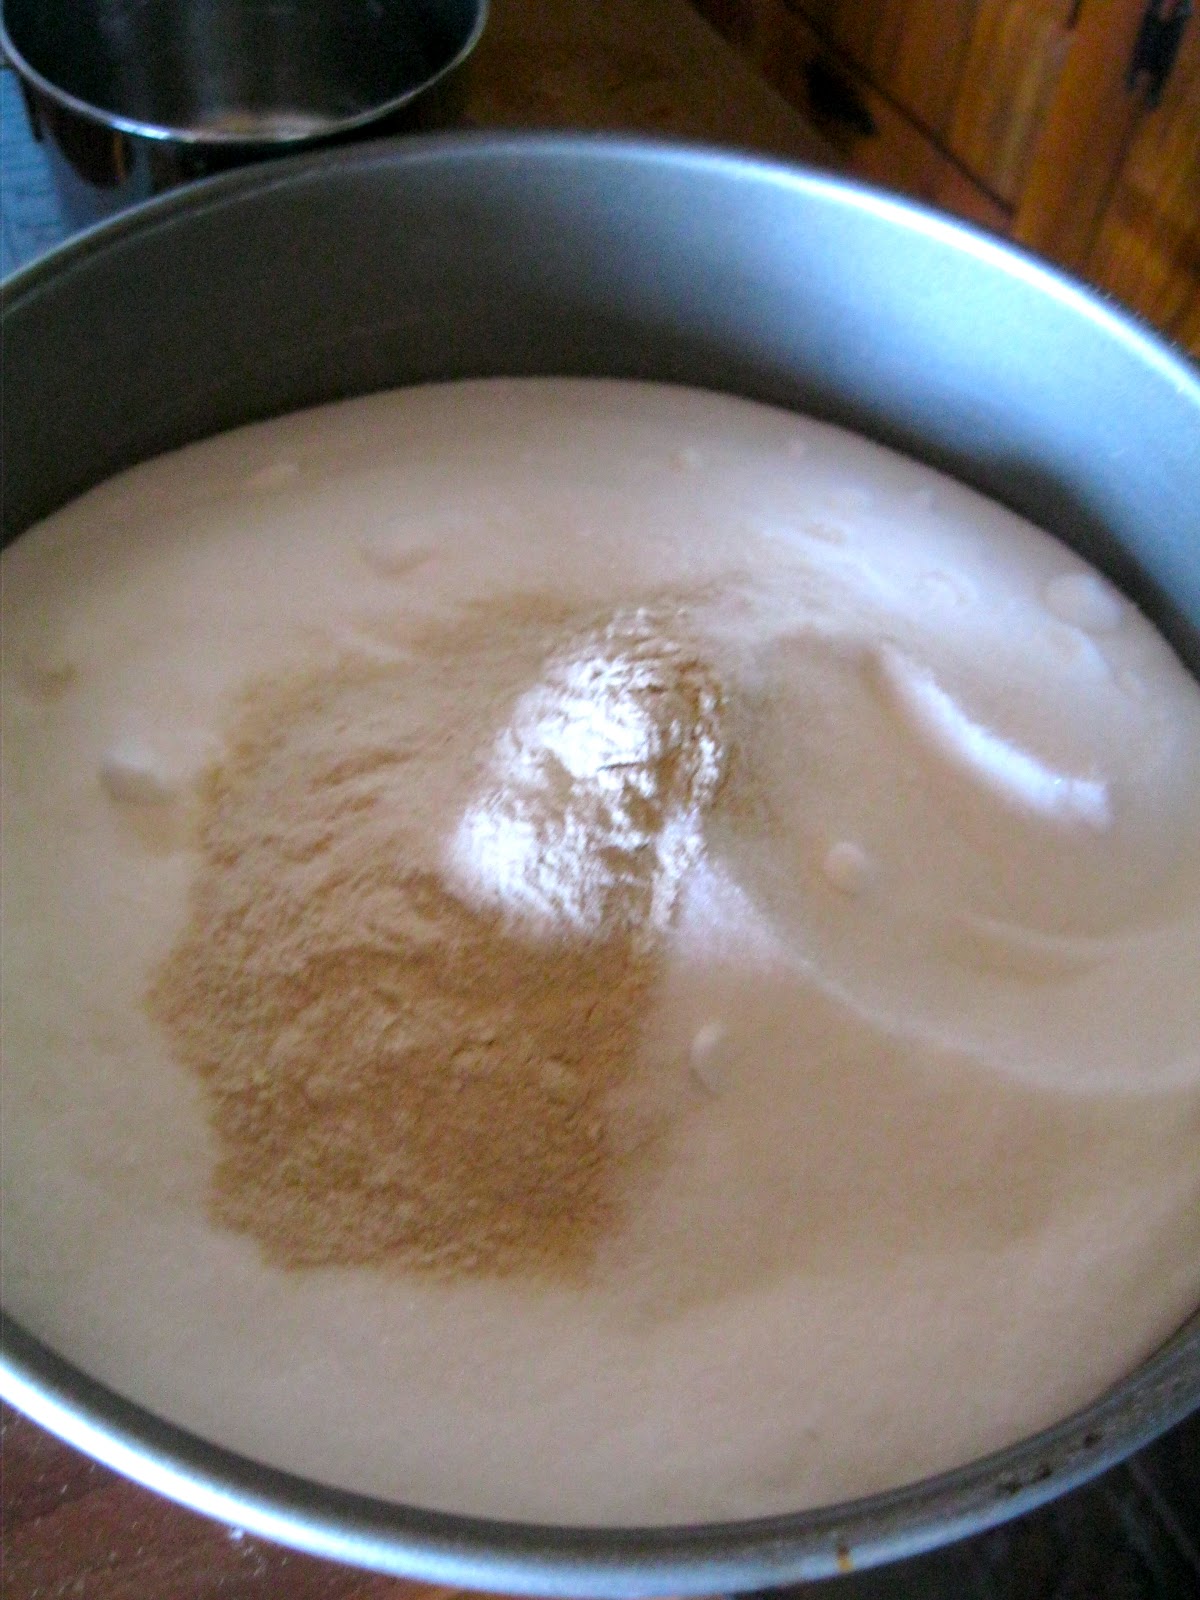
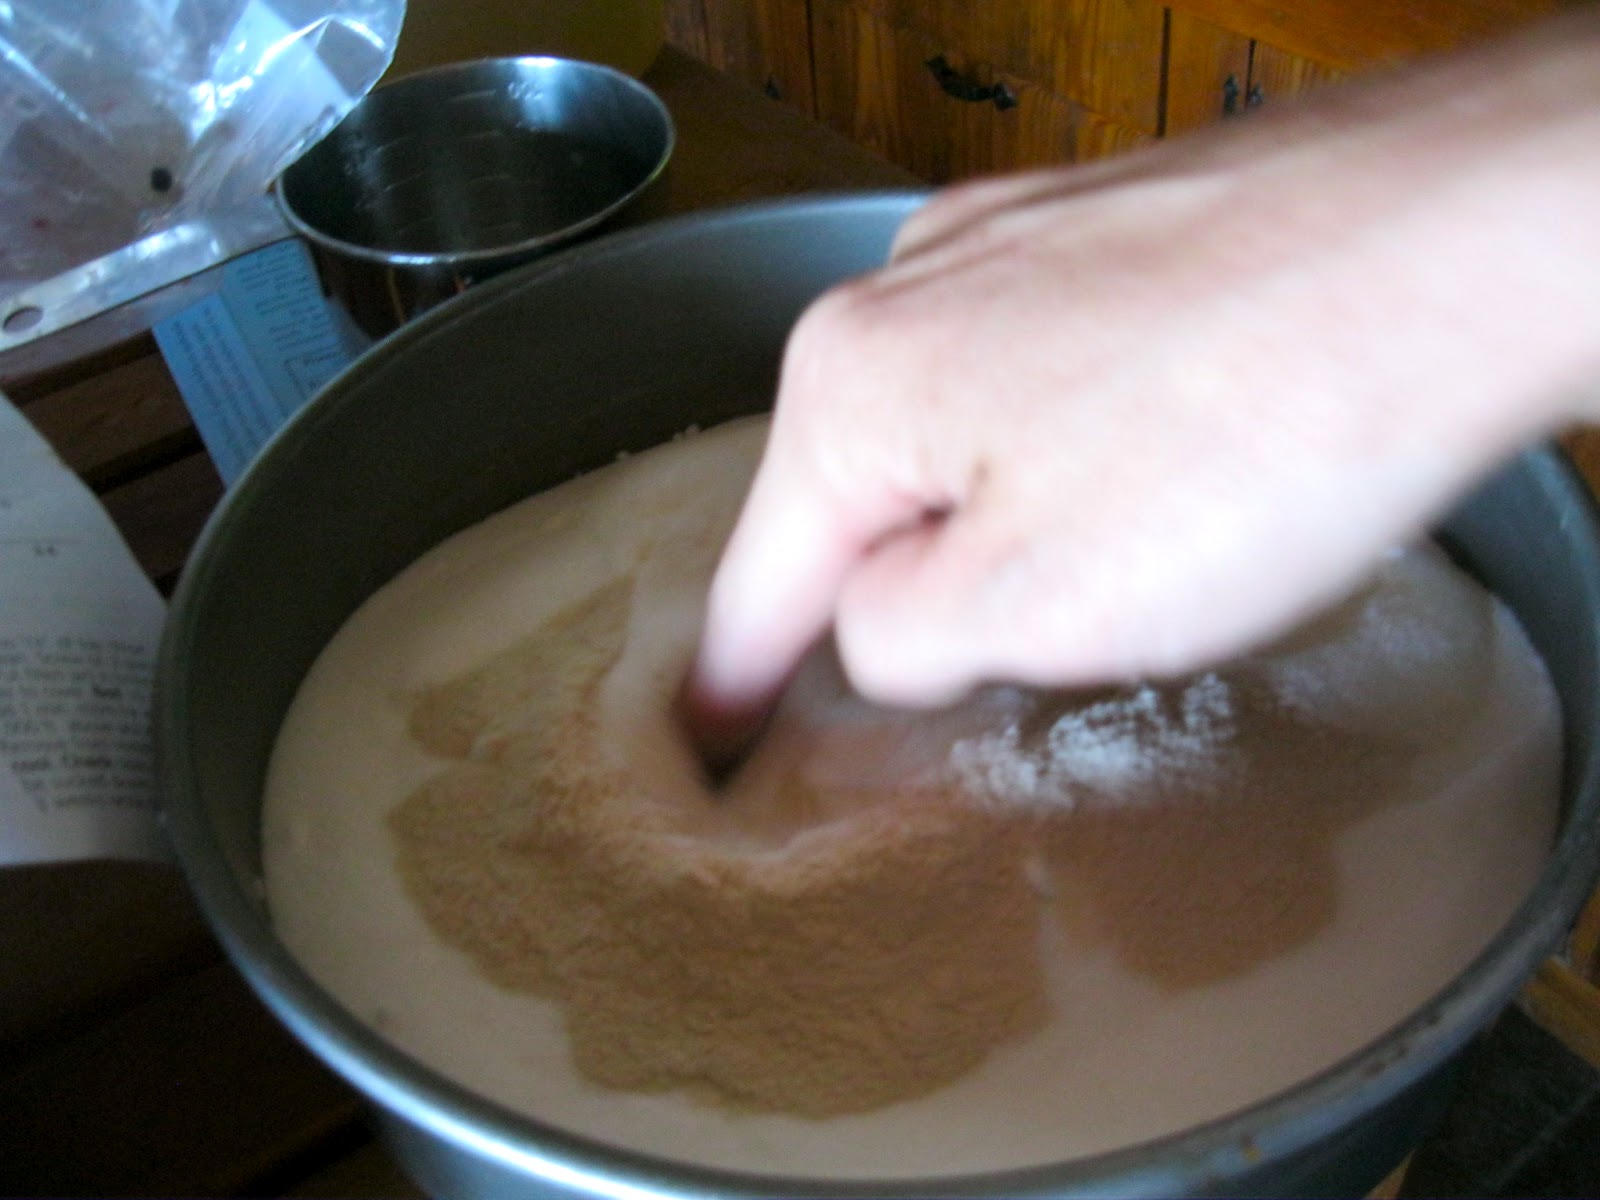
For our first jam, we used freshly picked blackberries. Mix pectin into sugar and add to the boiling mixture.
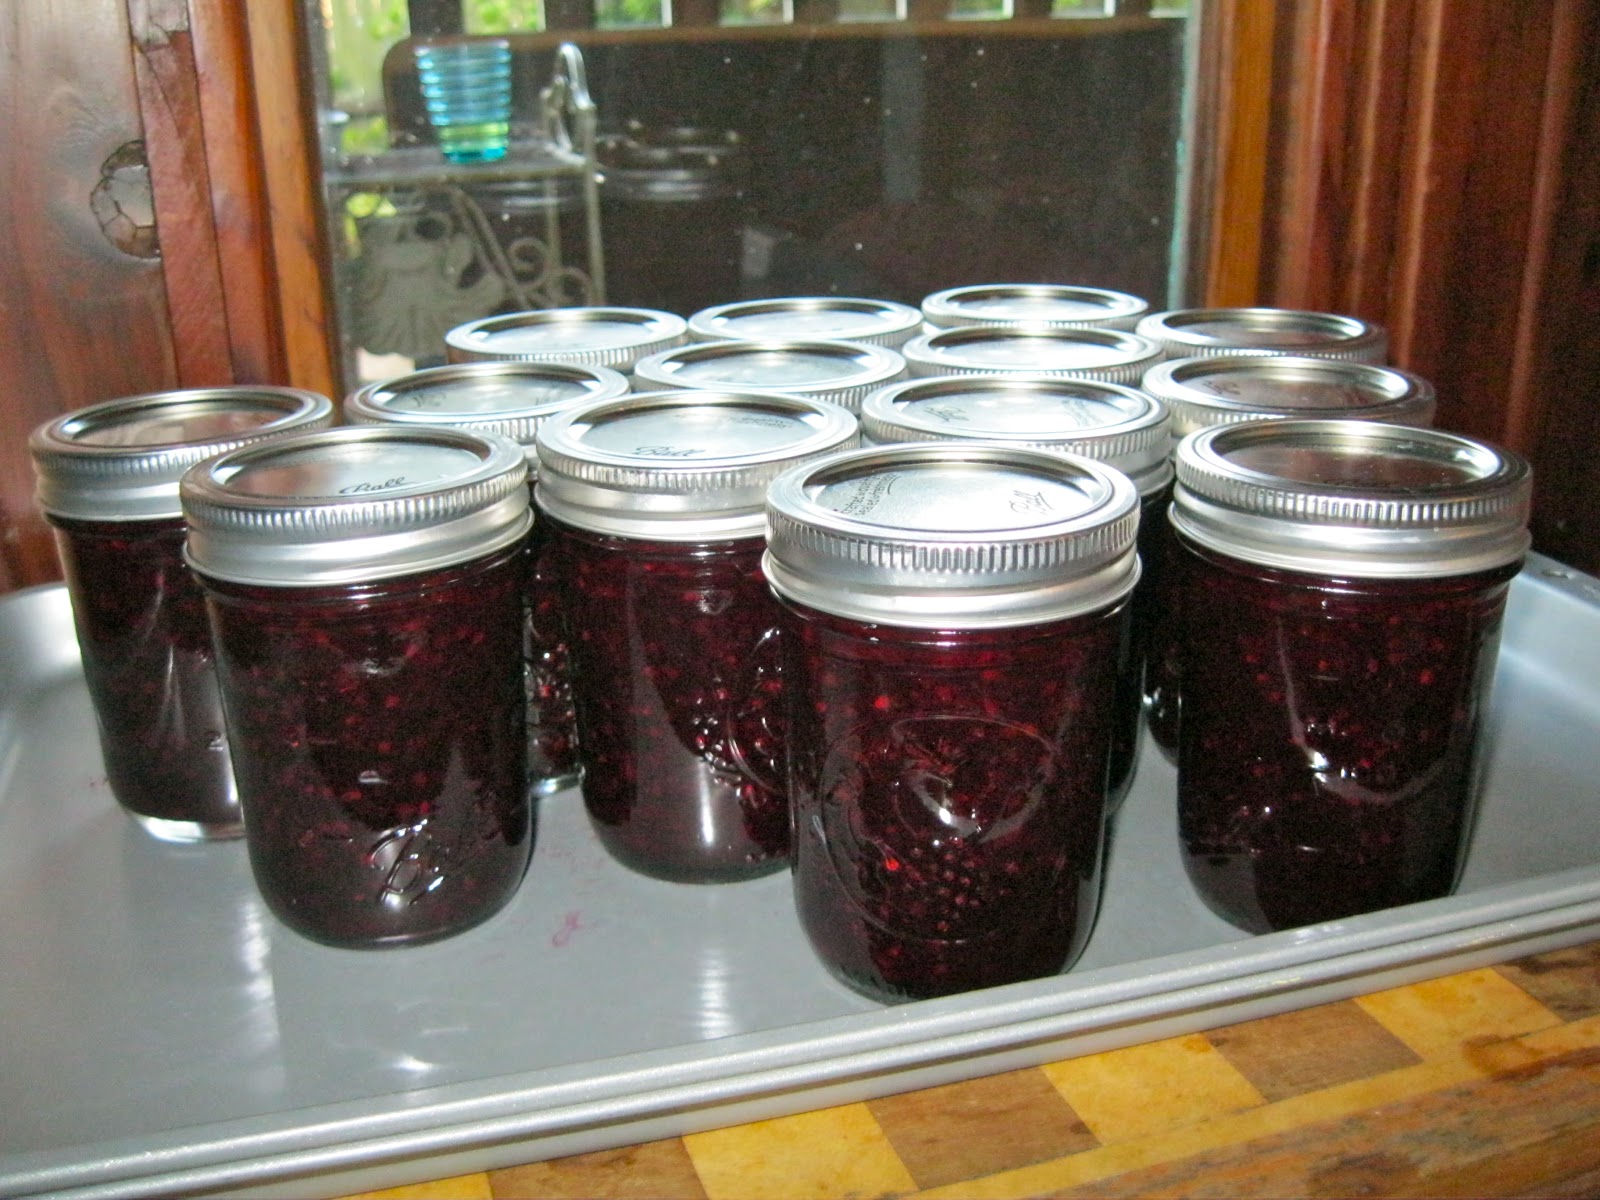
After the pectin is cooked, pour the jam to the top of the jars, leaving no gaping air space between the jar and the lip (it can affect the jam’s shelf life). Use a clean cloth to wipe the brims, then place the cover on. (The quick wipe helps the vacuum.) Screw the lid until closed but not tight, and place in the pot of boiling water. We boiled for 15 minutes, according to our recipe. When you pull out the jars, the lids pop when they seal.
The only question is what to can next?